By The Cooling Corner Team | Updated May 2025 | 8 min read
What is the Honeywell T4 Thermostat?
The Honeywell T4 Pro Programmable Thermostat is a reliable, budget-friendly thermostat designed for homeowners who want simple but effective temperature control. It supports 1 heat / 1 cool stage systems and is compatible with most conventional forced-air and hydronic HVAC systems.
Whether you are replacing an old thermostat or installing one for the first time, this guide covers everything from unboxing to full programming — all based on the official Honeywell T4 installation manual.
Always turn off power at the circuit breaker before starting any thermostat installation. Improper wiring can cause electrical shock or damage to your HVAC equipment.
What’s in the Box
When you open your Honeywell T4 package, you should find the following items:
- T4 Pro Thermostat (the main unit)
- UWP™ Mounting System (Universal Wall Plate)
- Decorative Cover Plate (optional, for covering old thermostat marks)
- Screws and Wall Anchors
- 2 AA Alkaline Batteries
- Installation Guide & User Manual
If the decorative cover plate is not needed, proceed directly to UWP Mounting System installation. Only use the cover plate if you are mounting onto a junction box or need to cover an old paint gap.
Tools You’ll Need
Before starting, gather these basic tools:
- Flathead screwdriver
- Phillips head screwdriver
- Pencil (for marking wall holes)
- Level (to ensure the thermostat sits straight)
- Drill (optional, for new wall anchors)
- Smartphone camera (to photograph existing wiring before disconnecting)
Step-by-Step Installation
Follow these steps carefully to install your Honeywell T4 thermostat:
Turn Off Power at the Breaker
Go to your electrical panel and switch off the circuit breaker for your HVAC system. This is a critical safety step — never skip it.
Remove Old Thermostat & Photograph Wiring
Take a clear photo of the existing wiring before removing any wires. Label each wire with tape or note down which terminal each wire connects to (R, G, Y, W, C, etc.).
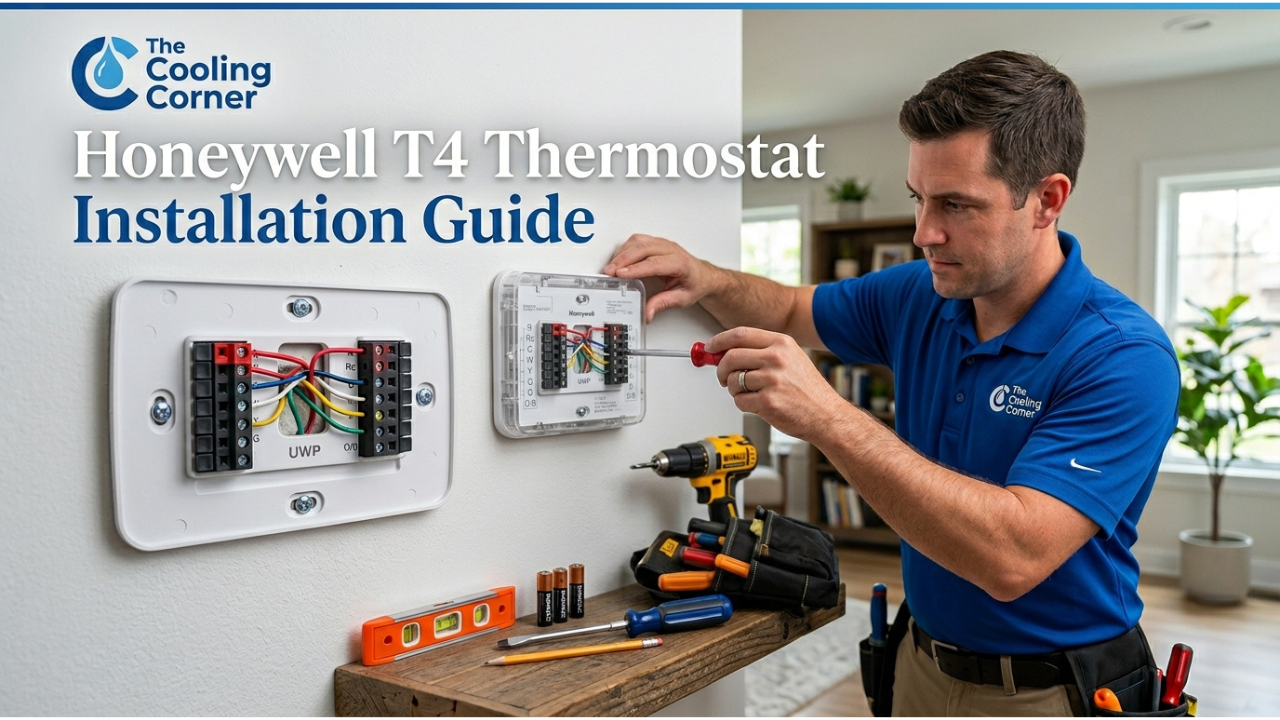
Mount the UWP Mounting System
Pull the wires through the UWP opening. Hold the UWP against the wall, use a level to ensure it is straight, and mark the screw hole positions with a pencil. Drill and insert wall anchors if needed, then mount the UWP using the supplied screws. Do not over-tighten.
Connect the Wires to Terminals
Using your photo as reference, connect each wire to the correct terminal on the UWP. Use 18–22 gauge thermostat wire. See the wiring table below for terminal descriptions.
Set the Slider Tabs
If you have one wire connected to the R terminal, set the R/Rc slider to the UP position. If you have two wires connected to both R and Rc, set it to the DOWN (2-wire) position.
Snap the Thermostat onto the UWP
Hang the thermostat onto the top hook of the UWP mounting system, then press the bottom until it snaps into place. Confirm it is secure and level on the wall.
Restore Power & Run the Installer Setup
Turn the breaker back on. The T4 will power up. Follow the on-screen Installer Setup (ISU) prompts to configure your system type, equipment settings, and scheduling preferences.
Wiring Guide & Terminal Diagram
The Honeywell T4 uses a standard UWP terminal block. Here is a quick reference for the most common wiring configurations:
| Terminal | Wire Color (Typical) | Function |
|---|---|---|
| R | Red | 24V AC Power (from transformer) |
| Rc | Red | Cooling power (joined to R by slider tab by default) |
| C | Blue / Black | Common wire (24V AC return — for continuous power) |
| Y | Yellow | Compressor / Cooling contactor |
| W | White | Heat relay |
| G | Green | Fan relay |
| W2 | White/Brown | Auxiliary/Emergency Heat (TH4210U model only) |
| K | — | Wire Saver terminal (replaces Y+G when using THP9045 module) |
If your system does not have a C-wire, the T4 Pro will run on 2 AA batteries. Battery life is approximately 1 year. For continuous backlit display, a C-wire connection is recommended.
Programming Your T4 Thermostat
The T4 Pro supports a 7-day programmable schedule with 4 time periods per day. Here is how to set it up:
Setting the Clock & Date
From the home screen, press Menu and navigate to Clock to set the current time and date. You can choose between 12-hour and 24-hour format in the settings menu.
Setting a Heating / Cooling Schedule
Navigate to Menu → Heating Schedule (or Cooling Schedule). The T4 allows you to set 4 periods for weekdays (Mon–Fri), Saturday, and Sunday separately. For each period, set your preferred temperature and time.
Keypad Lock
To prevent accidental changes, you can lock the keypad from the Menu. The default PIN is 1234. Note: the PIN cannot be changed on the T4 Pro model.
Fan Settings
You can toggle between two fan modes: Fan Auto (fan runs only when heating or cooling is active) and Fan On (fan runs continuously).
Enable the Optimum Stop feature in the settings. This switches off your system slightly before the programmed stop time, saving energy without affecting your comfort — the T4 learns your home’s temperature behavior over time.
Technical Specifications
Troubleshooting Common Issues
Download Official Honeywell T4 Manual (PDF)
Official installation guide & user manual from Honeywell/Resideo — free download.
Final Thoughts
The Honeywell T4 is one of the most straightforward thermostats to install, making it an excellent choice for both DIY homeowners and HVAC professionals. With this guide, you should be able to complete the full installation and programming in under 30 minutes.
If your HVAC system is more complex — for example a heat pump, multi-stage system, or if you are unsure about your wiring — it is always best to contact a licensed HVAC technician.
Looking for compatible HVAC equipment, mini-split systems, or thermostat accessories? Browse our full collection at TheCoolingCorner.com.