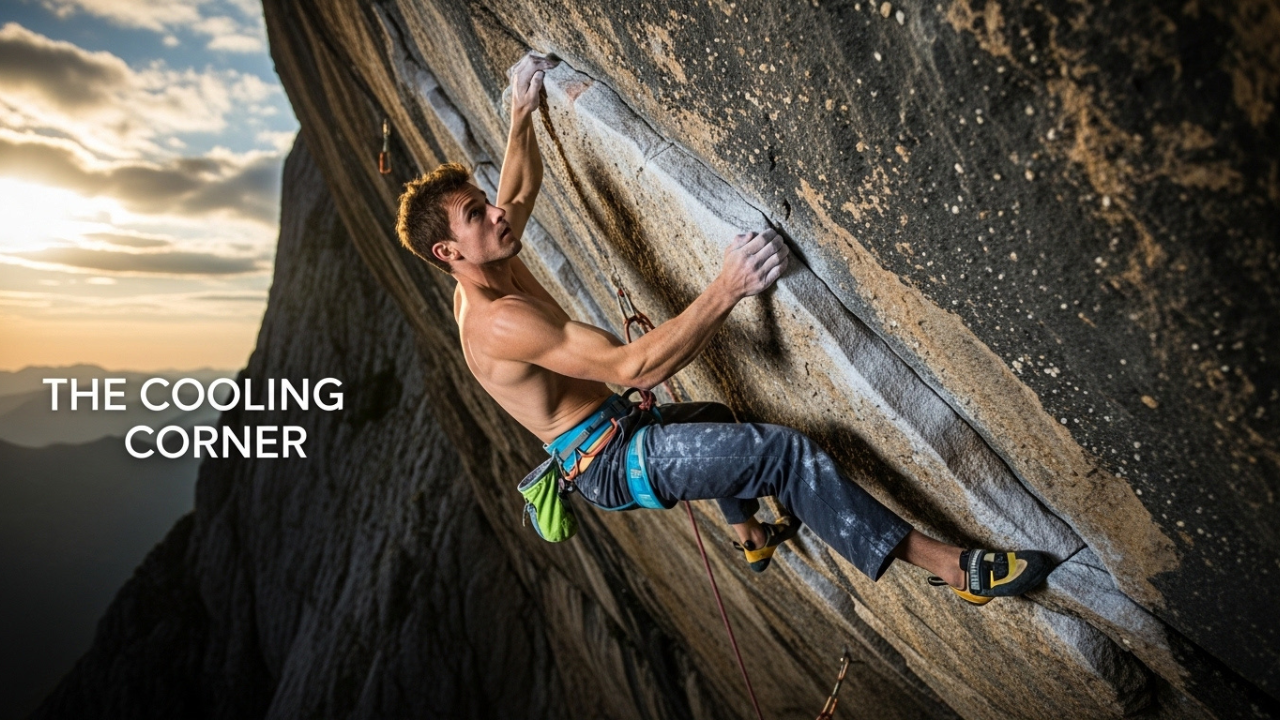
Rock climbing is a sport that combines physical strength, mental focus, and technical skill. Among its many challenges, projecting rocks—a term used by climbers to describe repeatedly attempting a difficult route until it’s perfected—stands out as both a test of endurance and strategy. Whether you’re a beginner aiming to send your first V3 or an advanced climber tackling V10s, mastering rock projection techniques can make all the difference. In this guide, we’ll explore techniques, tips, and tools that will help you achieve successful rock projections every time.
What is Rock Projection?
Before diving into techniques, it’s essential to understand what rock projection actually means. In climbing, projection refers to the process of working on a route over multiple sessions until you can climb it cleanly from start to finish. Unlike on-sight climbing, where you attempt a route without prior practice, projecting allows climbers to break down difficult sequences, analyze moves, and improve performance gradually.
Projection is a mental game as much as a physical one. It requires patience, strategic planning, and sometimes even creative problem-solving. Understanding the nuances of each route, memorizing holds, and refining technique are all part of the process.
Key Techniques for Projecting Rocks
Route Analysis
The first step in projecting any rock route is thorough route analysis. Spend time studying the climb before you even touch the rock. Look for:
- Cruxes (the most challenging part of the climb)
- Rest positions where you can shake out and recover
- Sequences that require dynamic or static movements
- Hand and foot placements
Visualizing the climb in advance helps your brain and body work in sync, making your first few attempts more strategic.
Breaking the Route into Sections
Large routes can be overwhelming, so break them into manageable sections. Focus on one section at a time instead of attempting the entire climb repeatedly. This method allows you to:
- Perfect each sequence individually
- Reduce physical fatigue
- Build confidence as you progress
After mastering sections, link them together to complete the full projection.
Beta Collection
In climbing, “beta” refers to the information about how to climb a route. Collecting beta is an essential part of projecting rocks. Beta can come from:
- Watching other climbers
- Video recordings of successful ascents
- Guidebooks and online climbing forums
- Personal trial and error
Having a clear understanding of beta can shorten the projection process and reduce unnecessary frustration.
Practice and Repetition
Projection is inherently repetitive. The key is to practice smart, not just hard. Focus on:
- Weak points in your climbing
- Technique over brute strength
- Proper footwork and body positioning
- Memorizing sequences through repetition
Remember, over-practicing without rest can lead to burnout or injury. Plan your sessions to include rest days and active recovery.
Rest and Recovery
Rest is just as important as climbing when projecting rocks. Successful projections rely on:
- Muscle recovery
- Tendon health
- Mental focus
Incorporate techniques like stretching, foam rolling, and proper nutrition to keep your body ready for challenging attempts.
Mental Strategies for Rock Projection
Visualization
Mental rehearsal is a powerful tool. Visualize yourself completing each move and executing the crux flawlessly. Visualization can improve:
- Muscle memory
- Confidence
- Focus under pressure
Climbers often find that mentally projecting a route before physically attempting it can reduce anxiety and increase success rates.
Goal Setting
Set clear, incremental goals for each climbing session. Examples include:
- Completing a specific section without falling
- Perfecting a tricky handhold
- Reducing rest times between sequences
Small victories keep motivation high and make the projection process more manageable.
Positive Self-Talk
Projection can be mentally taxing. Maintaining positive self-talk can make a big difference. Replace thoughts like “I can’t do this” with “I will try this section again and improve.”
Embrace Failure
Falling is a natural part of projecting rocks. Each fall is an opportunity to learn and adapt your technique. Analyze why you fell, adjust your approach, and try again.
Tools and Gear for Effective Projection
Having the right tools and gear can significantly enhance your rock projection experience.
Climbing Shoes
Proper climbing shoes are essential. They should:
- Fit snugly for precise foot placements
- Provide good toe and heel support
- Match the type of route (crimpy, slab, or overhang)
Chalk
Chalk helps maintain grip and reduce sweat. Use it strategically during projection sessions, especially at cruxes or difficult sequences.
Crash Pads (for Bouldering)
If you’re projecting boulder problems, a quality crash pad provides safety. Position it carefully to cover potential fall zones.
Climbing Tape
Finger injuries are common during projections. Tape can protect tendons and joints, especially when working on high-intensity moves.
Video Recording Device
Recording your attempts allows you to:
- Analyze movement and technique
- Identify weak points
- Compare different strategies
Tips to Speed Up Your Projection Success
Warm-Up Properly – Always warm up to prevent injury and prepare your body for challenging moves.
Track Your Progress – Maintain a climbing journal to record beta, attempts, and improvements.
Stay Flexible – Be willing to adjust your approach based on what works and what doesn’t.
Seek Feedback – Climbing partners or coaches can offer valuable insights.
Mind Your Diet – Proper nutrition and hydration support endurance and recovery.
Alternate Training – Strength, mobility, and fingerboard exercises improve overall performance.
Rest Strategically – Take breaks between attempts to conserve energy for the crux moves.
Common Mistakes to Avoid
Even experienced climbers can make mistakes during projections. Avoid these pitfalls:
- Skipping beta analysis – Leads to wasted energy and repeated falls
- Neglecting rest – Fatigue increases injury risk
- Over-gripping – Burns out forearms quickly
- Ignoring technique – Relying on strength alone limits improvement
- Rushing – Patience is key for successful projections
Advanced Projection Techniques
For advanced climbers, there are techniques that can take your projections to the next level:
Silent Feet – Minimizing noise while placing feet improves precision.
Dynamic vs. Static Movement – Knowing when to jump versus controlled moves enhances efficiency.
Core Engagement – Strong core stabilizes movements on overhangs and slabs.
Foot Swaps and Flagging – Advanced footwork techniques improve balance and reach.
Micro Beta Adjustments – Small tweaks in hand or foot placement can significantly impact success.
The Joy of Rock Projection
Projecting rocks is more than just climbing; it’s a journey of self-improvement. Every session teaches patience, perseverance, and problem-solving. The satisfaction of finally sending a route after multiple attempts is unmatched. It’s a combination of physical mastery, mental focus, and strategic planning that climbers cherish.
Conclusion
Mastering rock projection requires a balance of technique, mental strategy, proper tools, and patience. By analyzing routes, breaking them into sections, collecting beta, and practicing smart, you can tackle even the most challenging climbs. Mental preparation, goal setting, and embracing failure are just as important as physical strength. Coupled with the right gear and recovery strategies, projection becomes not just a method for sending routes but a deeply rewarding part of climbing culture.
Whether you’re new to the sport or an advanced climber, understanding and applying these techniques will enhance your climbing experience and help you achieve perfect rock projections.